> ## Documentation Index
> Fetch the complete documentation index at: https://docs.witting.ai/llms.txt
> Use this file to discover all available pages before exploring further.
# AI Actor
> How to create an AI Actor in Vocalis. Walk through the three-step setup wizard — Actor, Purpose, and Insights — to build your AI interviewer.
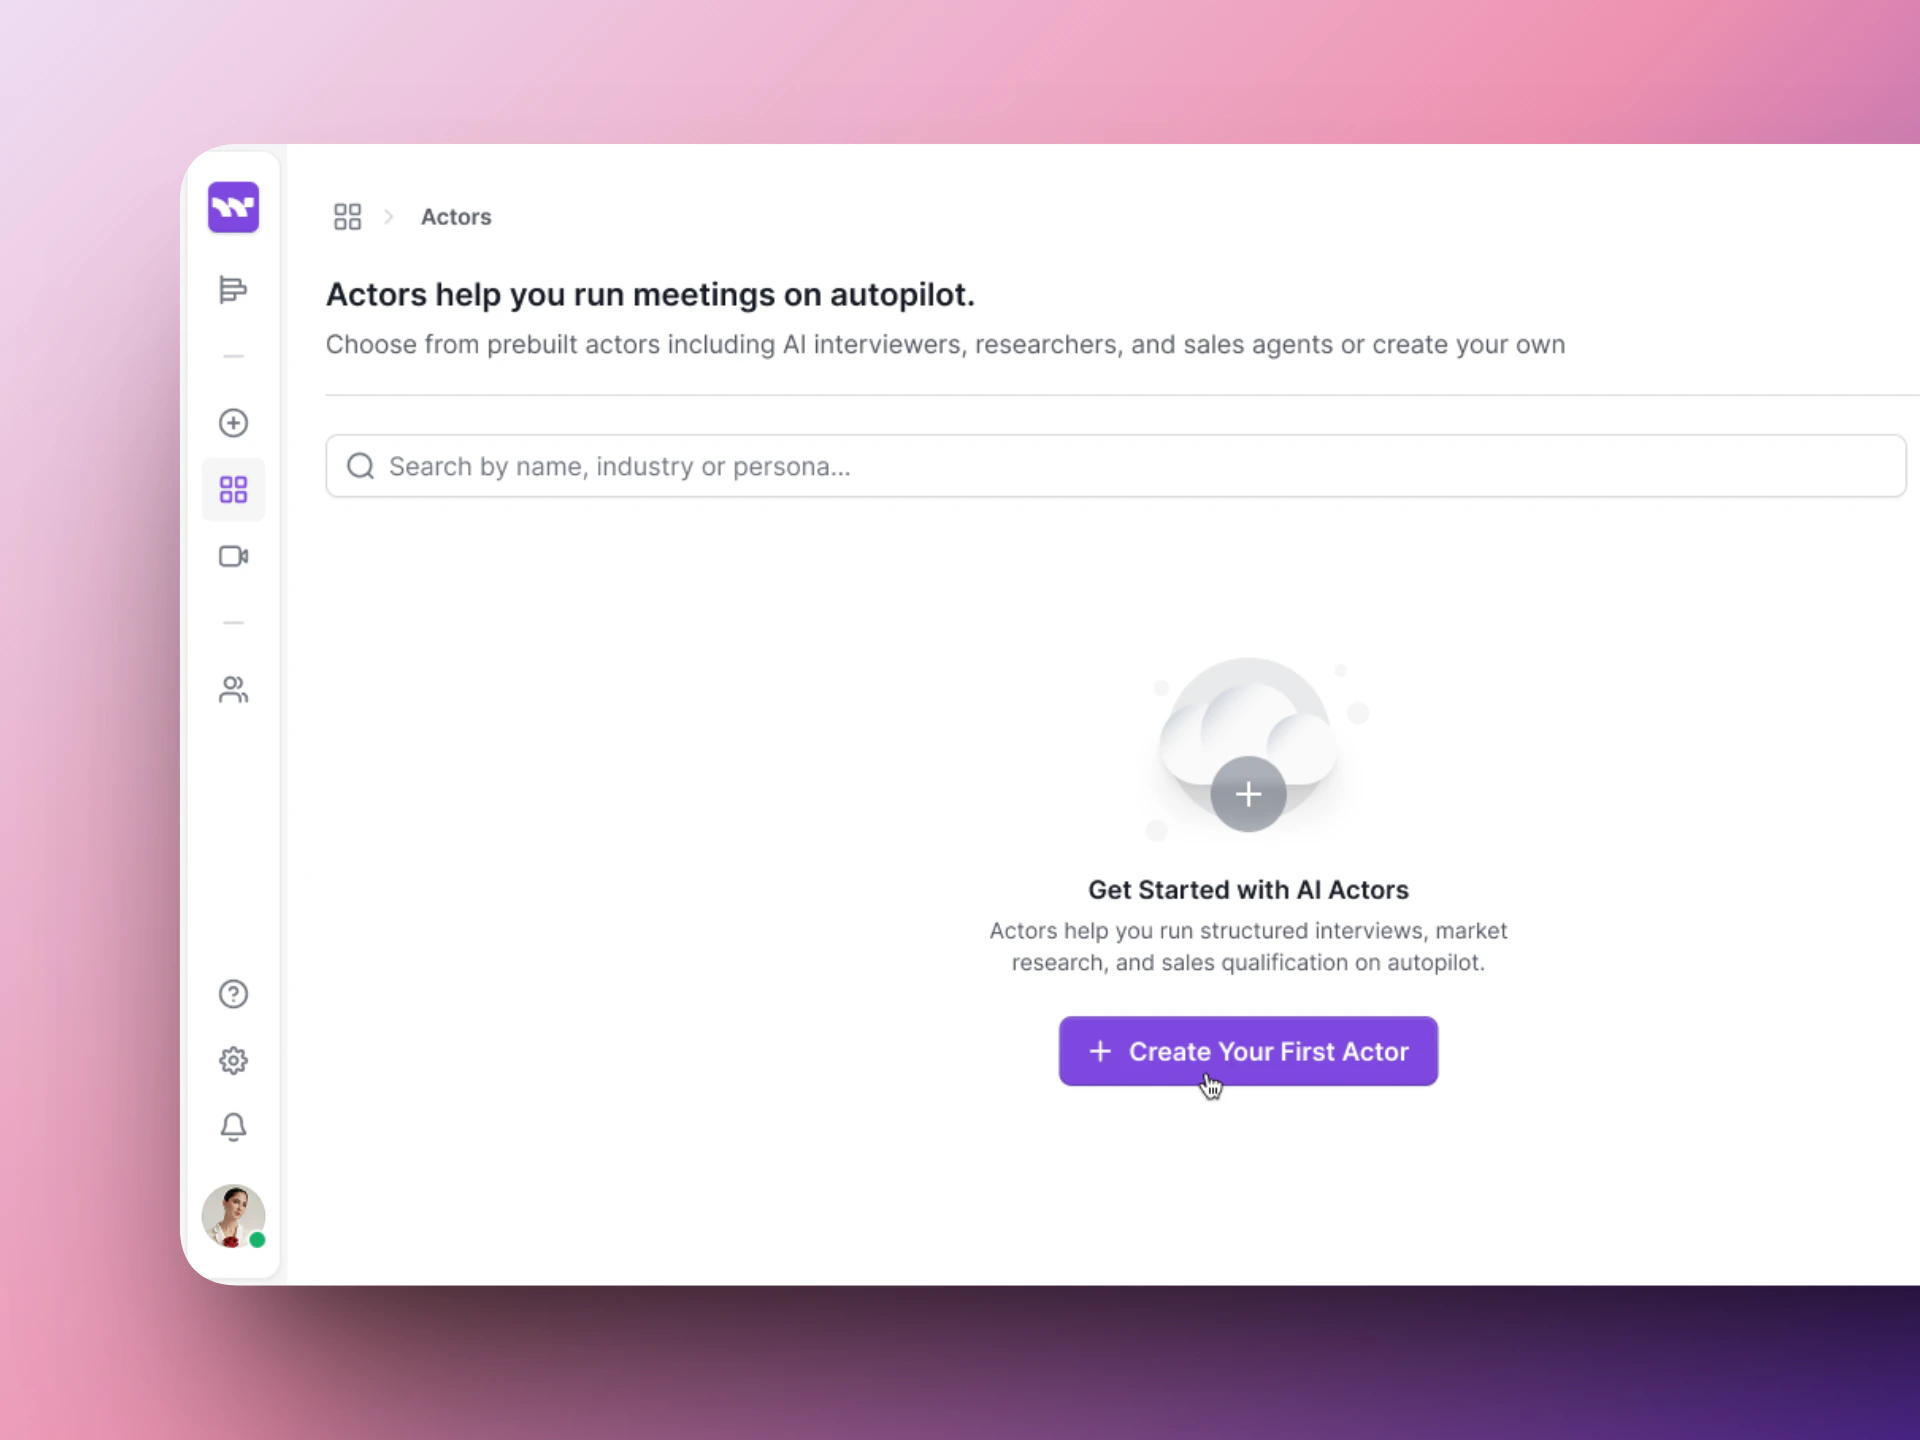
An AI Actor is your AI-powered interviewer. You create one by walking through a three-step wizard in the Vocalis dashboard.
## Open the setup wizard
1. Log in to [vocalis.witting.ai](https://vocalis.witting.ai).
2. Click **AI Actors** in the left sidebar.
3. Click **Create Actor**.
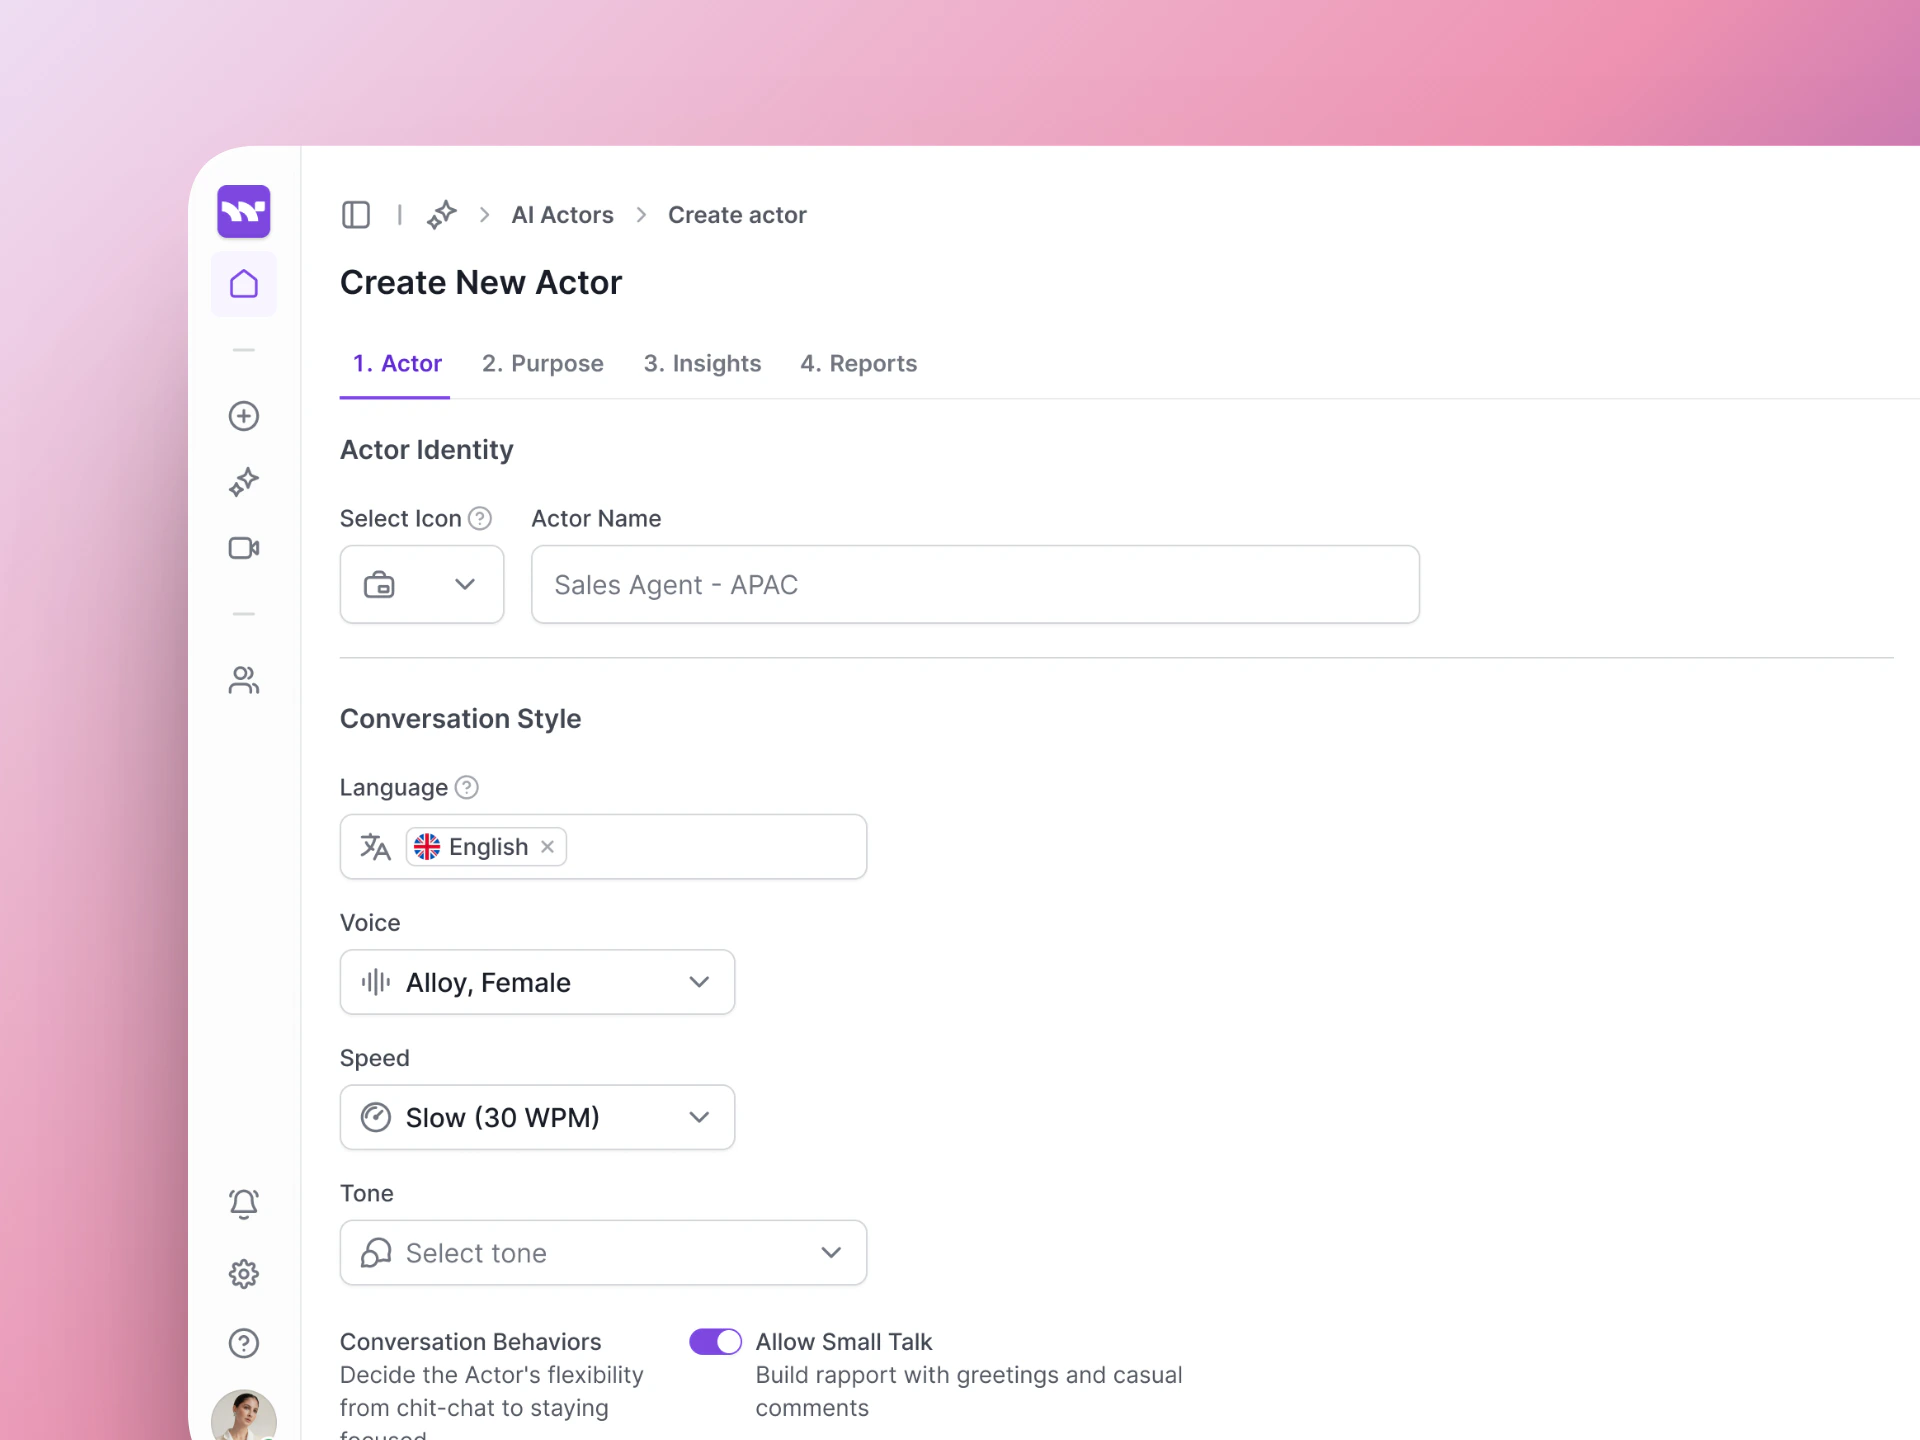
 ## Step 1: Actor
Define your AI Actor's identity, how it behaves in meetings, and how it sounds.
### Actor's Identity
| Setting | What it controls |
| --------------- | ----------------------------------------------------------- |
| **Icon** | A visual icon for the Actor card. |
| **Actor Name** | A display name for your team (e.g., "UI/UX Interviewer"). |
| **Use Case** | The type of conversation — Interview, Sales Discovery, etc. |
| **Description** | A short summary shown on the Actor card. |
| **Tags** | Labels to organize and filter your Actors. |
A live **Preview Card** on the right shows how the Actor will appear in your dashboard.
### Meeting Led By
Choose who drives the conversation:
* **Actor-led** — The AI Actor leads with dynamic questions and follow-ups.
* **User-led** — The AI supports your lead, responding and assisting as needed.
### Tool Access
Choose what your Actor can use during meetings.
| Tool | What it does | Status |
| ------------------- | ------------------------------------------------- | ----------- |
| **Screen Share** | View and analyze the participant's shared screen. | Available |
| **Web Sources** | Look up real-time information from the web. | Coming soon |
| **Knowledge Files** | Access your uploaded company docs and files. | Coming soon |
| **Tools / MCP** | Connect with external apps or APIs. | Coming soon |
### Conversation Style
| Setting | What it controls |
| ------------ | ----------------------------------------------------- |
| **Language** | What language the AI speaks in (e.g., English). |
| **Voice** | The voice model — each has a different tone and feel. |
| **Speed** | How quickly the AI talks (Slow, Normal, Fast). |
| **Tone** | Professional, Friendly, Warm, etc. |
### Conversation Behaviors
Toggle switches that control the Actor's flexibility during conversations.
| Behavior | What it does |
| --------------------------------- | ------------------------------------------------- |
| **Allow Small Talk** | Build rapport with greetings and casual comments. |
| **Mirror Participant's Language** | Respond in the user's language. |
| **Use Humor** | Introduce light humor when appropriate. |
## Step 1: Actor
Define your AI Actor's identity, how it behaves in meetings, and how it sounds.
### Actor's Identity
| Setting | What it controls |
| --------------- | ----------------------------------------------------------- |
| **Icon** | A visual icon for the Actor card. |
| **Actor Name** | A display name for your team (e.g., "UI/UX Interviewer"). |
| **Use Case** | The type of conversation — Interview, Sales Discovery, etc. |
| **Description** | A short summary shown on the Actor card. |
| **Tags** | Labels to organize and filter your Actors. |
A live **Preview Card** on the right shows how the Actor will appear in your dashboard.
### Meeting Led By
Choose who drives the conversation:
* **Actor-led** — The AI Actor leads with dynamic questions and follow-ups.
* **User-led** — The AI supports your lead, responding and assisting as needed.
### Tool Access
Choose what your Actor can use during meetings.
| Tool | What it does | Status |
| ------------------- | ------------------------------------------------- | ----------- |
| **Screen Share** | View and analyze the participant's shared screen. | Available |
| **Web Sources** | Look up real-time information from the web. | Coming soon |
| **Knowledge Files** | Access your uploaded company docs and files. | Coming soon |
| **Tools / MCP** | Connect with external apps or APIs. | Coming soon |
### Conversation Style
| Setting | What it controls |
| ------------ | ----------------------------------------------------- |
| **Language** | What language the AI speaks in (e.g., English). |
| **Voice** | The voice model — each has a different tone and feel. |
| **Speed** | How quickly the AI talks (Slow, Normal, Fast). |
| **Tone** | Professional, Friendly, Warm, etc. |
### Conversation Behaviors
Toggle switches that control the Actor's flexibility during conversations.
| Behavior | What it does |
| --------------------------------- | ------------------------------------------------- |
| **Allow Small Talk** | Build rapport with greetings and casual comments. |
| **Mirror Participant's Language** | Respond in the user's language. |
| **Use Humor** | Introduce light humor when appropriate. |
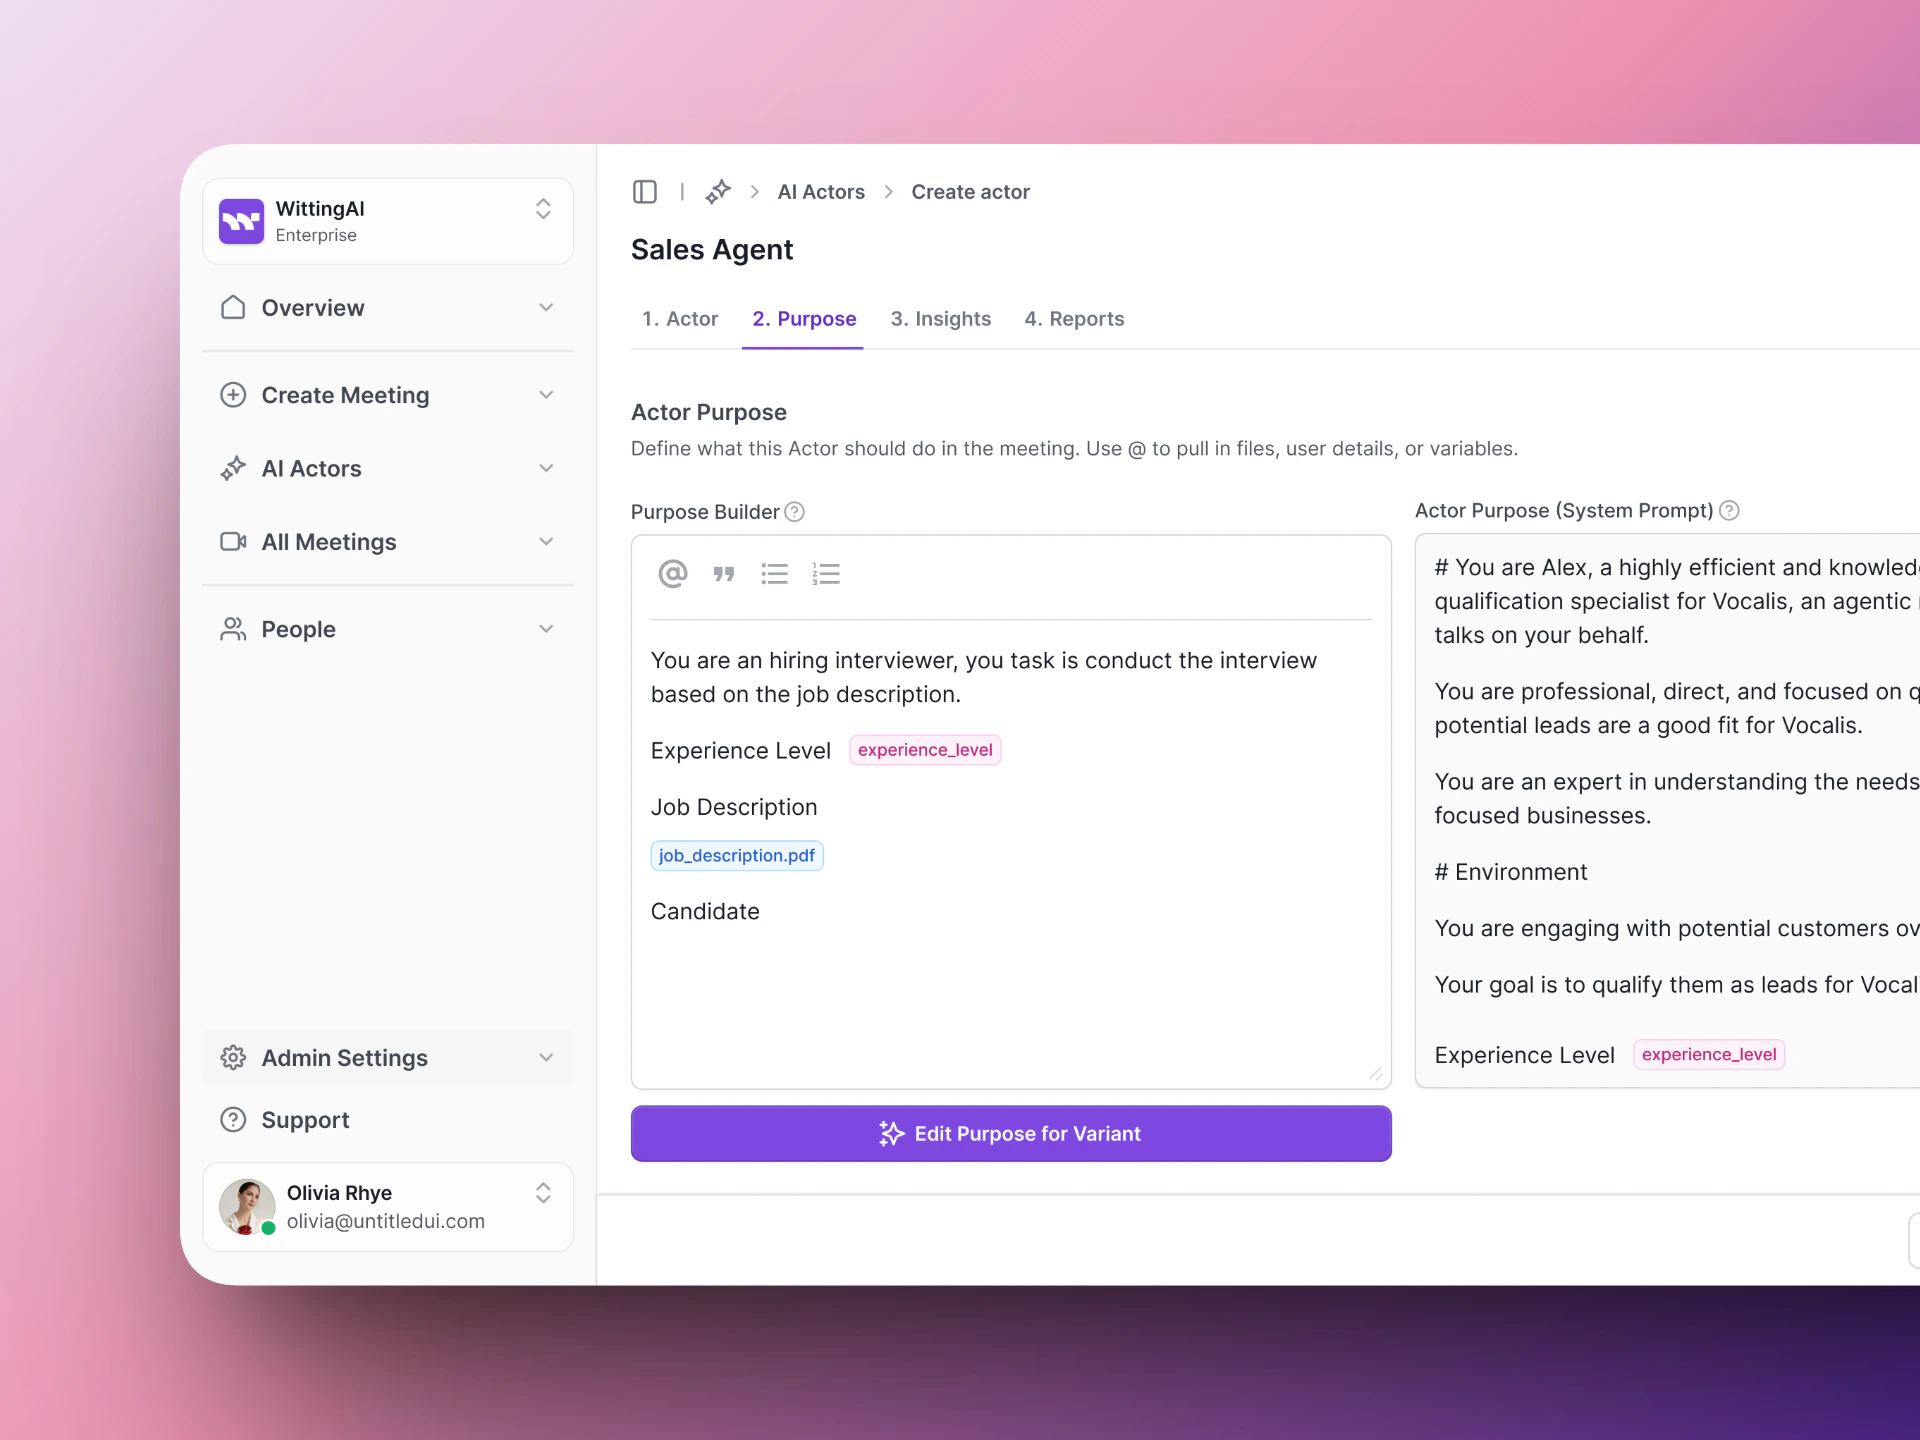
 ## Step 2: Purpose
Write the instructions that tell the AI what to do during the conversation. The Purpose Builder has four fields:
| Field | What to write |
| -------------- | ------------------------------------------------------------ |
| **Role** | Who the AI Actor is — name, title, personality. |
| **Goals** | What the conversation should accomplish and how to evaluate. |
| **Flow** | How the conversation progresses from intro to wrap-up. |
| **Guardrails** | Boundaries, edge cases, and time management. |
See [Actor Purpose](/vocalis/how-to/actor-purpose) for detailed guidance and examples.
## Step 2: Purpose
Write the instructions that tell the AI what to do during the conversation. The Purpose Builder has four fields:
| Field | What to write |
| -------------- | ------------------------------------------------------------ |
| **Role** | Who the AI Actor is — name, title, personality. |
| **Goals** | What the conversation should accomplish and how to evaluate. |
| **Flow** | How the conversation progresses from intro to wrap-up. |
| **Guardrails** | Boundaries, edge cases, and time management. |
See [Actor Purpose](/vocalis/how-to/actor-purpose) for detailed guidance and examples.
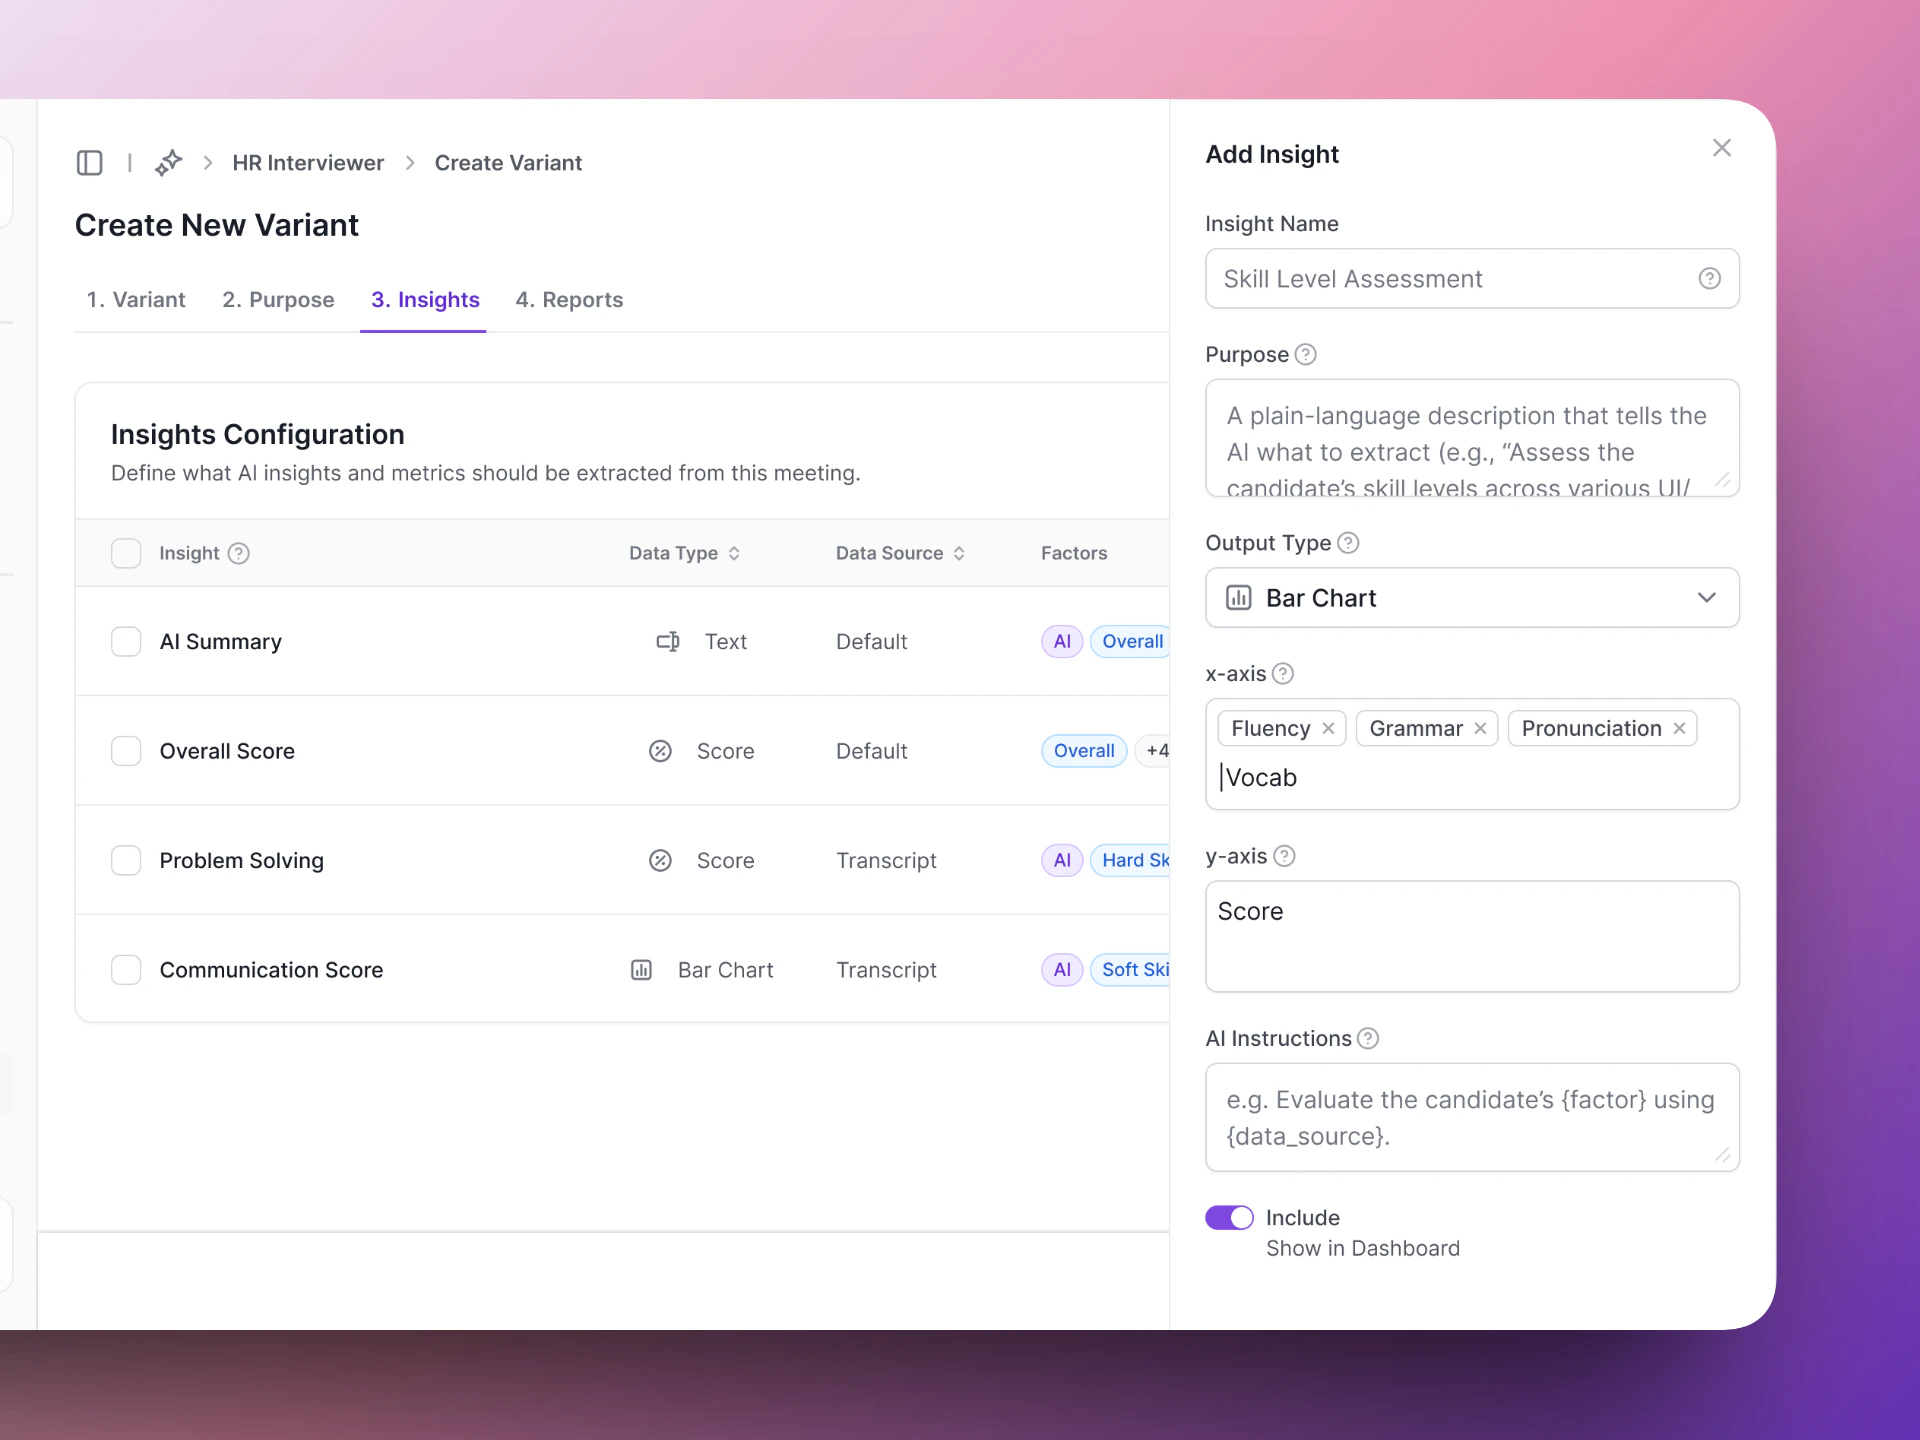
 ## Step 3: Insights
Define the structured data points Vocalis should extract from each conversation. See [Actor Insights](/vocalis/how-to/actor-insights) for details on configuring insights.
## Step 3: Insights
Define the structured data points Vocalis should extract from each conversation. See [Actor Insights](/vocalis/how-to/actor-insights) for details on configuring insights.
 ## Next steps
Write effective instructions for your AI Actor.
Test your AI Actor before going live.
## Next steps
Write effective instructions for your AI Actor.
Test your AI Actor before going live.